Adventures in Reupholstering – Take II

I have so enjoyed decorating and designing our own house, but I am quickly finding myself out of rooms! I haven’t shared everything here yet and though every room is still a work in progress, I was lucky enough to have a great friend take pity on me and at the same time give me a huge compliment when she asked me to help her decorate the brand new beautiful home she and her husband were building.  I look forward to sharing some pictures of the beautiful space they call their own soon!

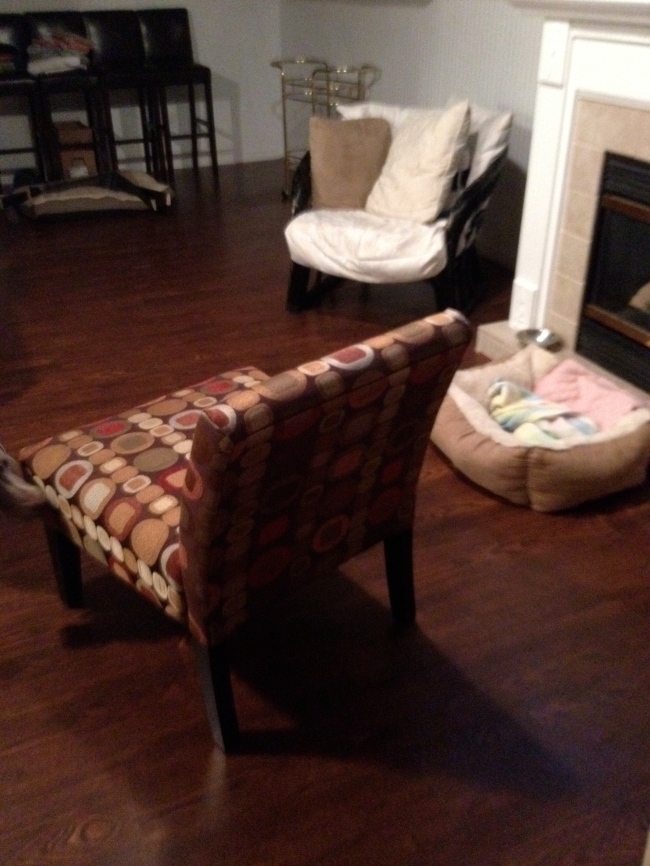
Before they got the keys and it all came together, she asked if I would help her out by recovering two of these chairs to better match her decor.
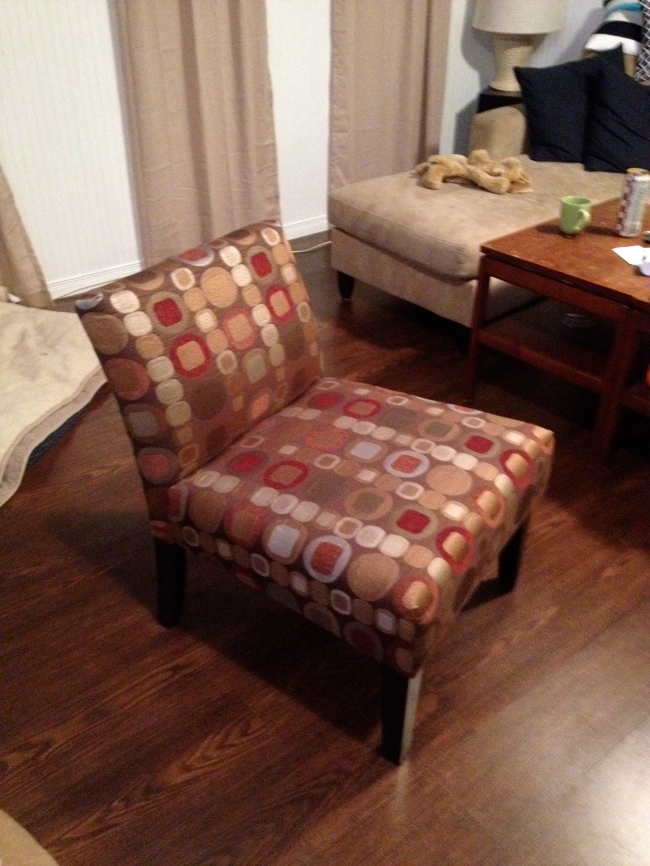
Image{the before}

Image{the before – excuse the untidy basement but… we live here!}

 Image{before}

You are probably wondering why she asked me to tackle this project for her, but I had a little experience from my own reupholstering project for our house.  Now unlike those disaster chairs I tackled, these beautiful things came apart into two pieces!

Image{the back}

Image{the seat base} 

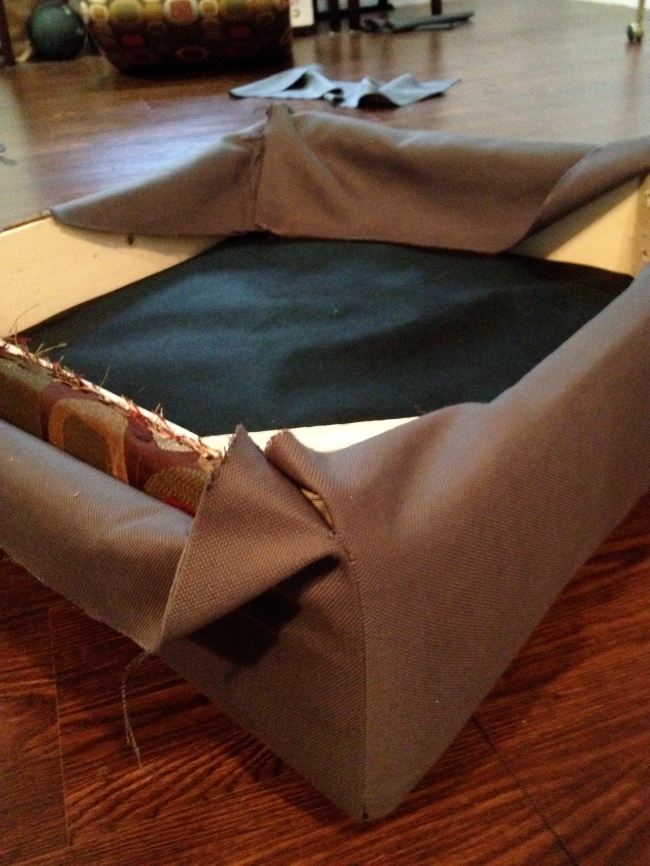
I started with the seat bases, I removed the two front legs of the chair and the velcro that surrounded the base which holds the dust cover on.  I then pinned a fitted slip cover from the fabric we chose from Fabricland and sewed it.  Much to my celebration it was a perfect fit!

Image

{creating the slip cover}

Then I used my handy dandy Stanley staple gun {which is only pretty much my favourite thing ever} to attach the cover to the frame of the chair and ensure it was nice and secure.

Image{securing the cover to the seat base}

The seat bases were a dream compared to the backs of the chair.  They required a little more work but in the end the whole thing came together.

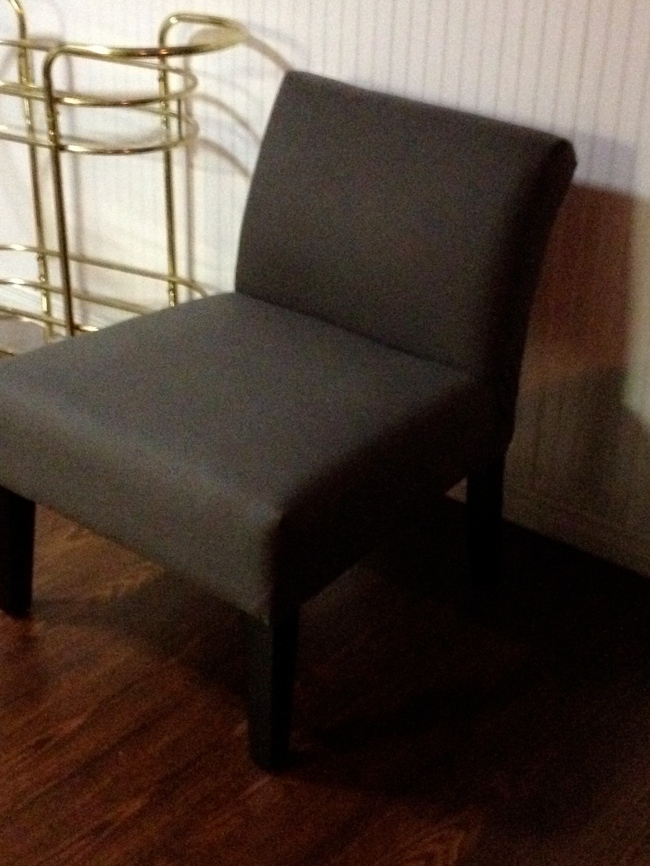
Image{the finished product}

Check out Mr. Bar Cart hanging out in the corner before he was the suave and sophisticated Mr. Bar Cart he is today.  I was pretty happy with how this reupholstering adventure turned out and I look forward to sharing with you what they look like in their new home!

My Adventure in Reupholstering

I believe it was mid may last year, we had signed the contract for our house but had nearly 3 months to wait until closing date, I was SO excited to be moving out of our apartment and Patrick and I had agreed that we would’t spend a lot of money.  We had been living together for about 6 years at that point and had accumulated 2 beds, a living room set, dining set… basically all the essentials and though we were moving into a 5 bedroom house that would now have two separate living spaces, we agreed we didn’t want to rush into purchasing a bunch of new furniture.

But did I mention I was excited?! So I began trolling Kijiji for a new project.  I ended up finding these two slipper chairs advertised for $50 for both!

Image

I should mention that in the Kijiji picture they did not look nearly as old as they look here or as old as they actually were. Anyways, one weekend my sister came to visit and I decided that she and I would go pick up these chairs.  I negotiated (something I NEVER do) a bargain and got the two for $40 (go me!). When we walked into the house and saw the chairs they were a lot older and more dated than I expected but being the polite person I am I said thank you very much and my sister and I loaded them into the car.  They probably weighed around 20lbs each, they were honestly so heavy.  I would be lying if I said I never thought I had gotten myself into a mess with this project!

Image

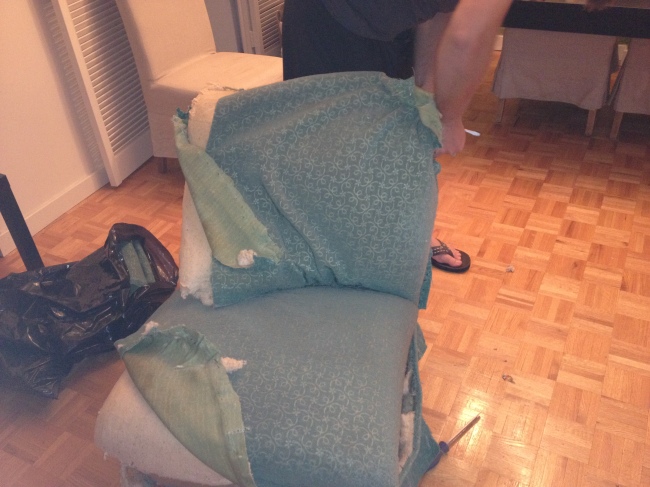
I quickly set to ripping the first chair apart.  The original plan was to simply recover the chairs but if you had felt the texture of these bad boys you would have realized that no matter what I did that kitchen scrubby spounge texture was going to scratch somebodies behind something awful if I left it on there!

The whole dismantling process was very professionally done with a flat head screw driver and a pair of pliers and only a few injuries that probably should have received professional medical attention (it was a learning process remember).

Anyways, I did the first chair on my own to see if it was worth it before tackling the second.  Patrick decided he would provide his professional assistance and live up to manly duty of demolition by helping me dismantle the second.

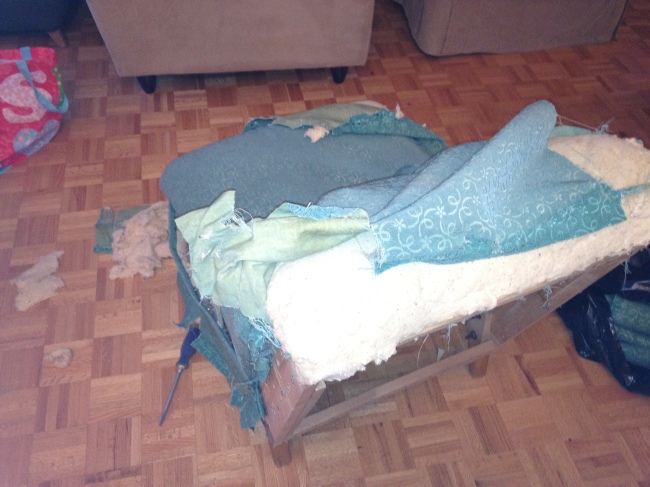
ImageThe amount of dust and dirt (and old garbage) that came out of these things is actually unbelievable, these were classics! They even had spring seats and used professional upholstering tacks that had subsequently rusted (we are up to date on our tetanus shots thankfully, no lock jaw here) and see that seat foam, I was pretty sure it was a member of the asbestos family and basically told everyone I know that if I die suddenly to quickly dispose of the chairs.

ImageSo once we had all the fabric, asbestos  old foam, straw (yes there was straw in these) and what not off the wood frame and into the garbage I had a blank chair frame and 2 spring seats.  After reading a few tutorials online I went to won completely reupholstering!

Image

Lots of foam and batting later we had a nearly new chair.

Image

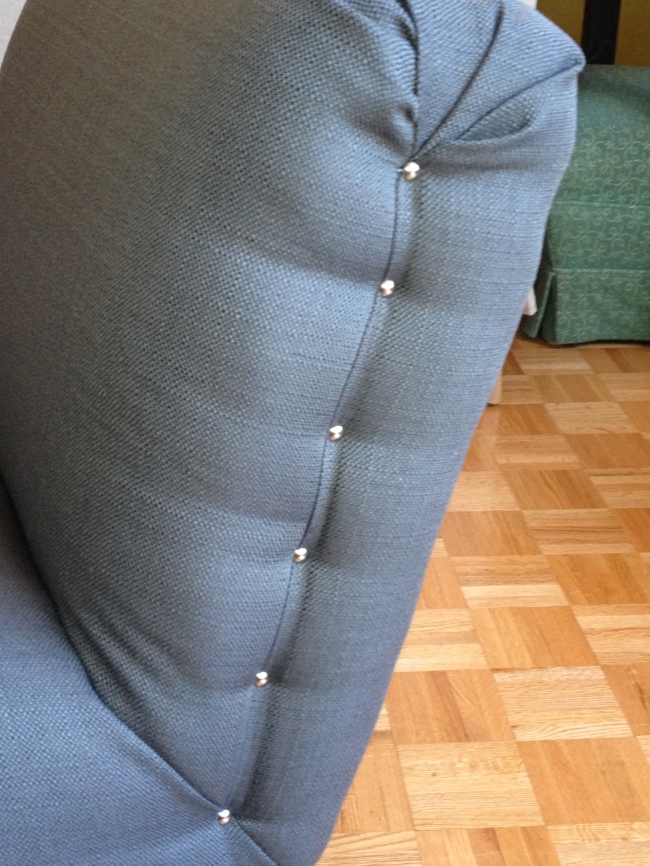
I had picked up some grey fabric on clearance at Fabricland for $4 a meter and used by favourite tool, the staple gun, to cover these and create this.

Image

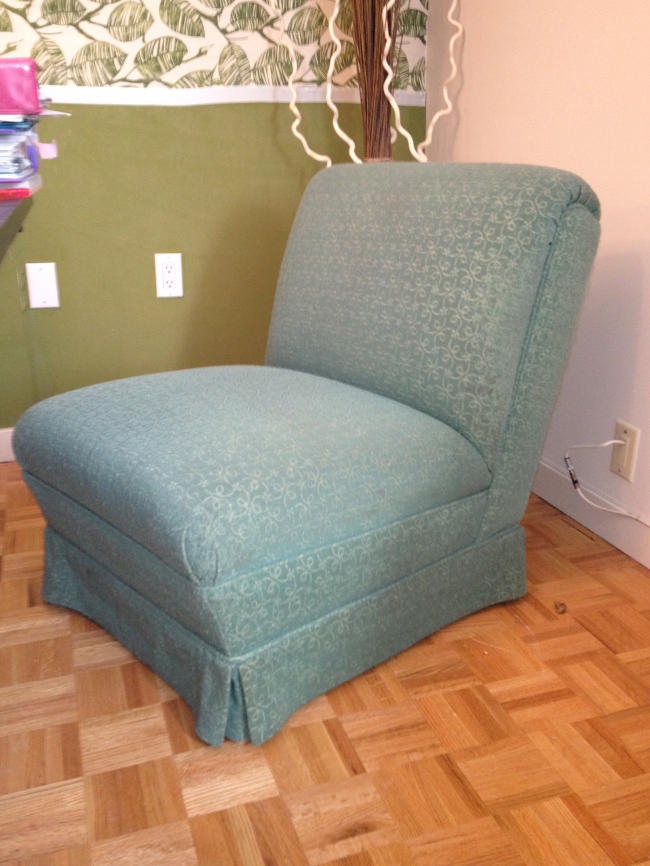
ImageAnd with a little decorative and functional nail head trim, which I may or may not have an unhealthy relationship with, we took the $20 Kijiji chairs and made them functional (clean) and a little more stylish!

Image