No secrets here, the title pretty much gives it away, I am going to attempt my first tutorial and it is going to be about fabric wall coverings {obviously}. But before I get to the tutorial I clearly have to drone on a little bit first {it just wouldn’t be a Simply Style blog post without it}.
Awhile back I shared this post about the fabric wall coverings Mr. Nate Berkus inspired me to attempt in our rental. This was an easy and simple solution to make our temporary home well, more homey! When we moved into our house I quickly painted every room {but one} and though I knew of other design options like wallpaper and the large scale stencils that are now available, I really stuck to the quick and easy solution by going with paint. When I shared my fabric wall covering post from our rental it reminded me how simple this makeover solution was and I realized there is no reason this shouldn’t be something we do in our house, after all this simple DIY is not for renters and temporary living spaces alone.
I love the look and bright bold statements wallpaper and stencilling can make, but I don’t think my patience is all there when it comes to those tasks so, in the under one hour it took me to complete this project from start to finish, I will tackle fabric wall coverings any day!
The most difficult part of the fabric wall covering is finding a fabric that 1) you like and 2) isn’t going to break the bank. As you know by now I love a good bargain and spending regular price on fabric to cover the wall is just not going to sit well with me. That being said, if you have a little more money to spend remember wallpaper is not cheap, actually it is fairly comparable to the price of fabric and the bonus with your fabric wall covering, when you’re done you simply peel down, throw your fabric in the wash and you can use it elsewhere or for other projects!!
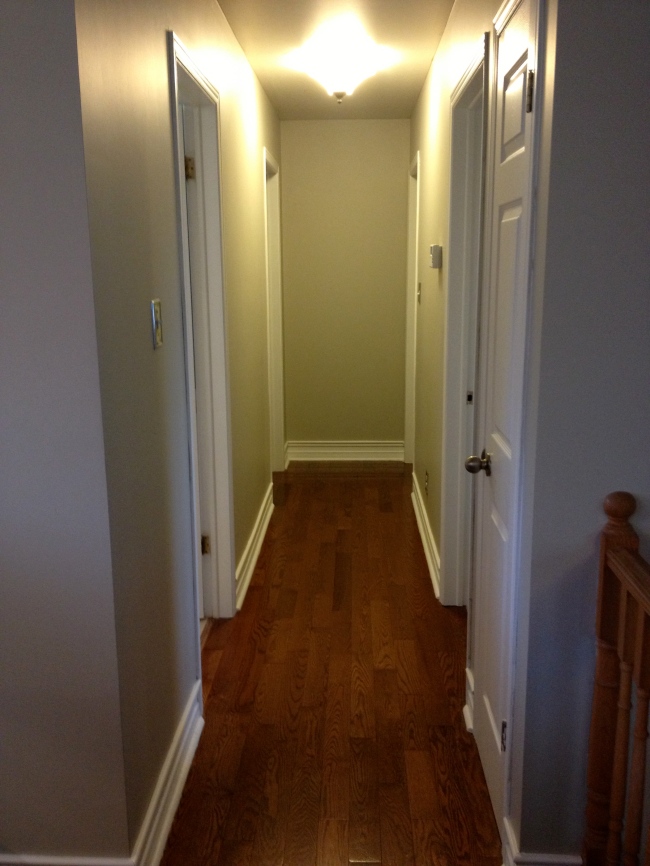
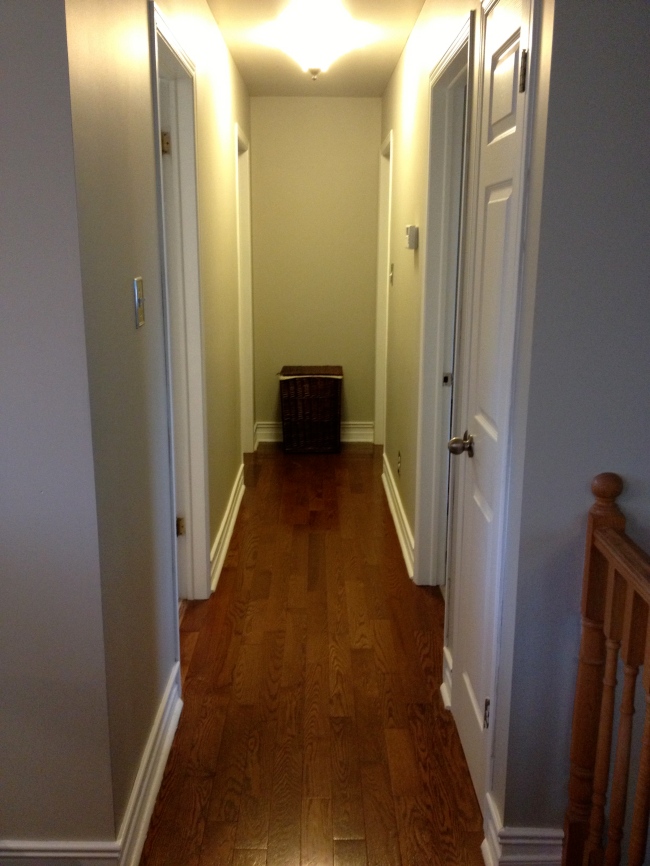
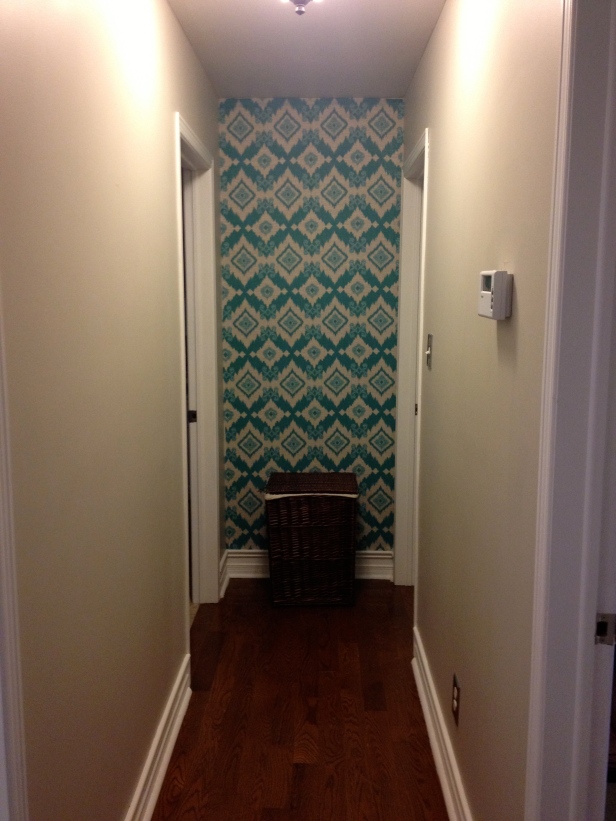
All right that seems like enough blabber for one post, on to the TUTORIAL. I decided to tackle the wall at the end of our upstairs hallway. This hallway got a serious dose of my tried and true griege of choice, Revere Pewter by Benjamin Moore and was spruced up with some illusionary double deep baseboards inspired by this tutorial by House of Smiths. It was definitely looking better than the dark hallway of doom it resembled when we moved in but it just wasn’t “there” yet.
I have dreamed about this mirror framed mirror since before we moved into the house and the plan was to get it as soon as we moved in but more important projects got in the way and needless to say I still don’t own it, but the dream is still alive and it is a big part of the inspiration for this project.
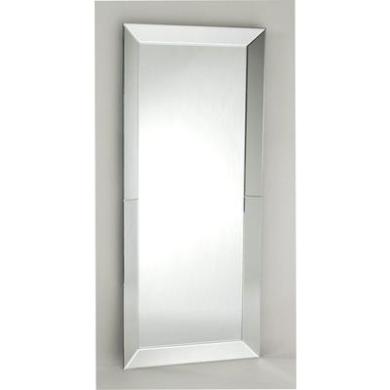 {available at Home Depot for $109.99}
Instead of my dream mirror, our 6 year old, beat up, wicker hamper has made its home in its place, making this space anything but exciting.
To start this project you will need the following items:
Corn Starch
Water
Whisk
Large Bowl
Kettle or Pot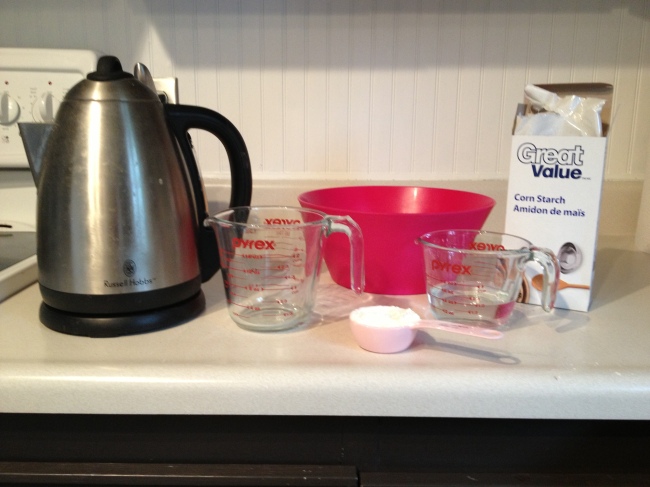 {what you’ll need}
I opted to make my own liquid starch because the liquid starch my man Nate Berkus told me about on his show {before it ceased to exist} seemed no existent, at least in my town. I actually don’t know why you would pay money for liquid starch when a box of corn starch is under $2 and makes enough liquid starch to fabric your entire home.
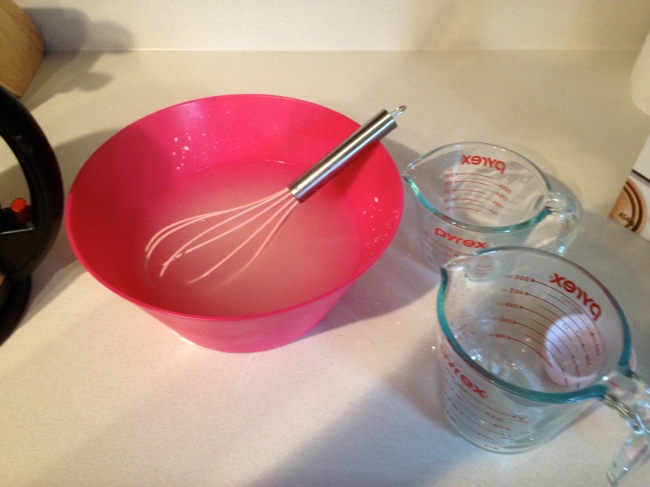
To start this project you need to make your liquid starch. Here is the “recipe”:
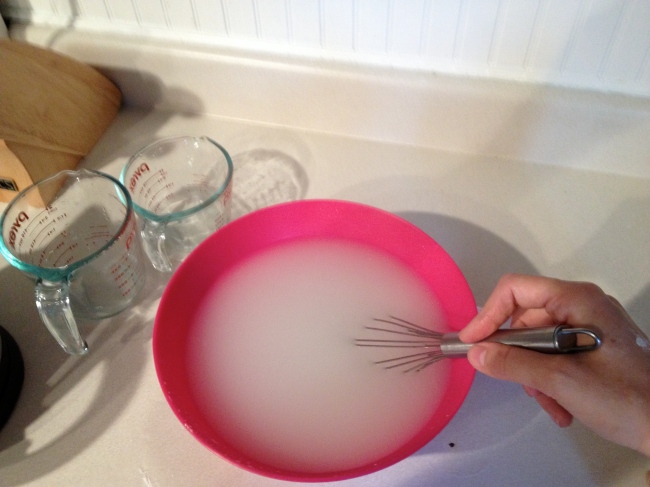
Mix 4 cups of HOT {i mean boiling} water with 1/2 cup of COLD water and 1/4 cup of corn starch and STIR STIR STIR.
It is absolutely critical you use HOT HOT HOT water, let the kettle boil completely or bring your pot to a real rolling boil to ensure you make the best liquid starch. For this project I mixed 2 batches but I really only needed about half of one batch in all reality. Be sure to stir the mixture and get all the little pockets of the starch, you don’t want clumps and bumps. Your mixture will look a milky white colour to start.
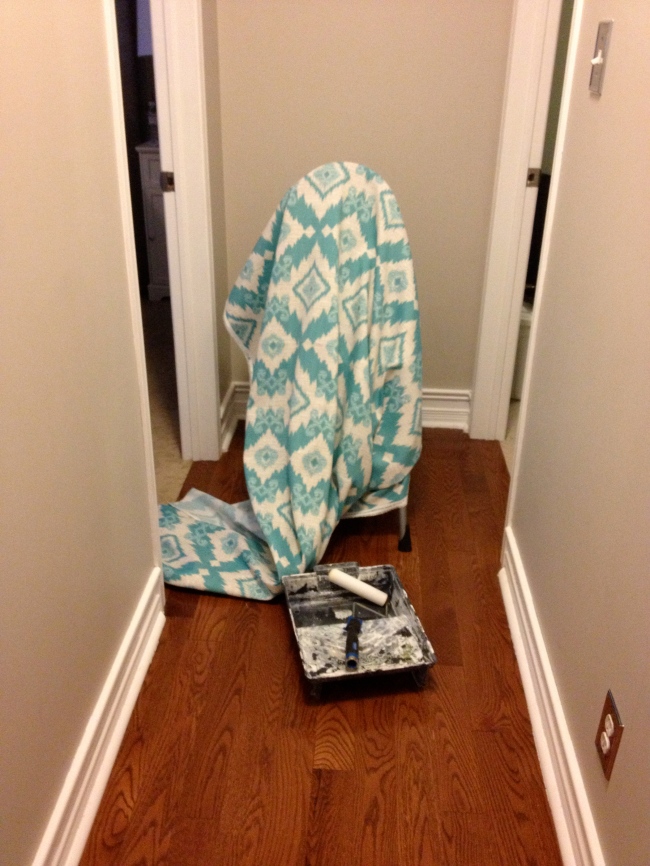
Now if you have patience, you let this sit and cool and it will turn to a thicker clear liquid, but if you are like me {that’s someone of the lacking patience variety} you will take the 5 minutes it takes to get your step ladder, paint tray and foam roller and then you’ll get started.
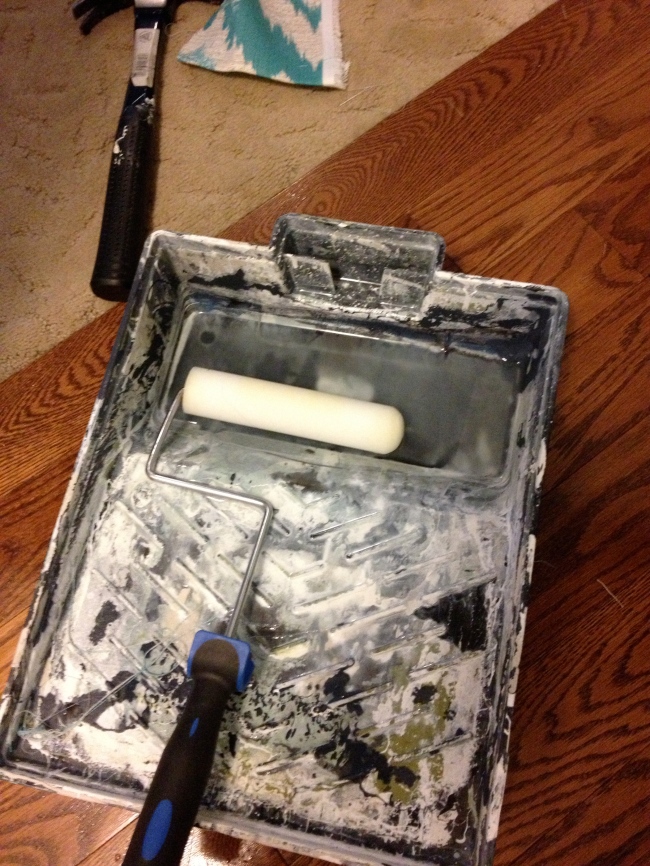
I used an old paint tray {as you can see} and a cheapo foam roller from the dollar store {seriously}. Make sure your roller has a plastic core. When I did this project at the apartment I used a large roller that had a cardboard core and it start to disintegrate and I was leaving little piece of cardboard all over my wall as I rolled {it was actually a mess}. This little plastic roller was $2 well spent and I will be able to use it again!
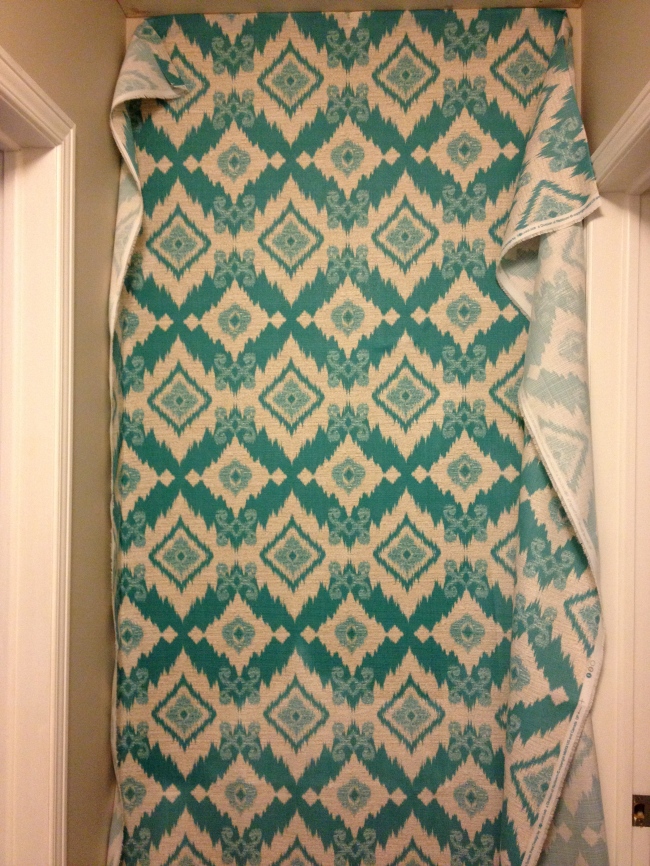
You’ve seen the fabric I chose before, I shared it in my Fabric Finds and was able to pick it up at Fabricland for $10 a meter. For just over $20 I had enough to cover this wall with extra to spare. This is an indoor/outdoor fabric, I find they have better prints and patterns but they are also a lot heavier and some have a water repelling feature {be careful of those} which makes this project a little more difficult.
Once I was all set up I decided I would iron a “hem” or sorts so I would have a nice clean line along the top of my wall where it meets the ceiling. when I bought my fabric I had left myself some wiggle room in the length so I knew I could afford to have this fold over.
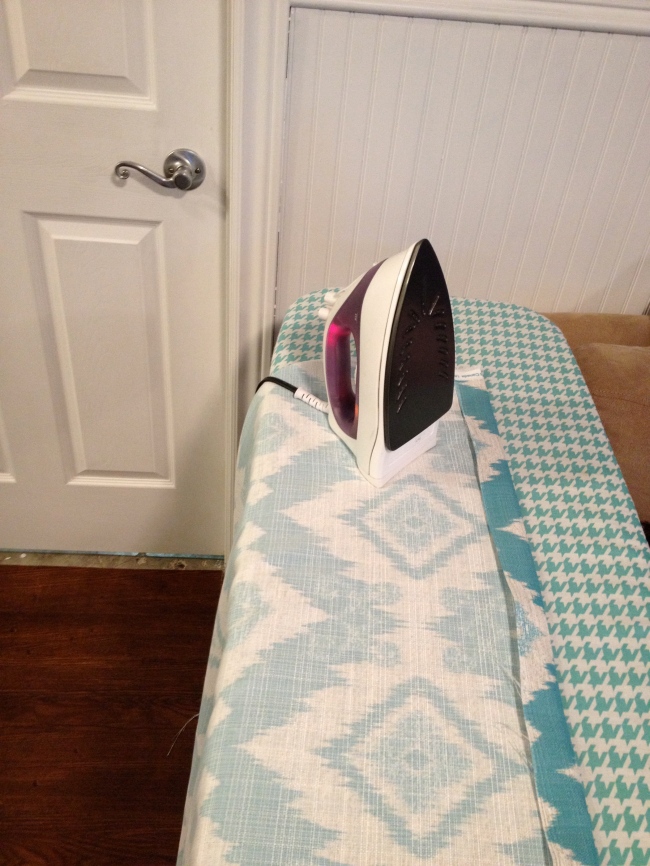 {ironing a clean edge – please ignore the lack of reducer between our new laminate floors and awful concrete in our utility room, embarrassing}
Now I am finally ready to start applying my fabric. There are a few ways you can tackle this project. If you are using a thin cotton you will be able to roll your liquid starch on the wall and the fabric will stick to it because it is light. If you are using a heavier fabric like me, I find that using a few little finishing nails to hold the fabric up along the top to start is really helpful, especially if attempting this on your own. Whatever type of fabric you are using, I start by rollering a small section at the top of the wall to get started. Once your fabric is on the wall {be it stuck to the starch or hanging from your finishing nails} then you can start rollering on top of the fabric.
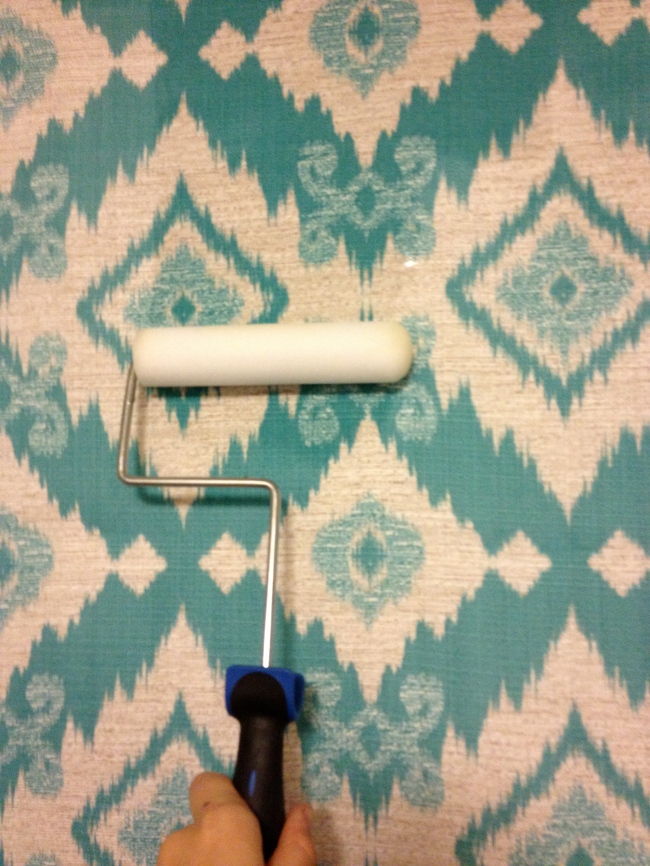
I find once you get going this way you really don’t need to roller under the fabric anymore. Just load some liquid starch on your roller and give your fabric a good soak until it clings. I like to start by rollering from the middle and working out, this helps roller out any pockets and bubbles that will inevitably occur.
Now you could cut your fabric to fit your wall ahead of time but in my experience, though you would like to think your walls are straight the reality is they’re not so I prefer to leave excess to avoid frustration.
To get rid of the excess I run a pen or pencil down the seam to give myself a line. Then you can just cut away the excess.
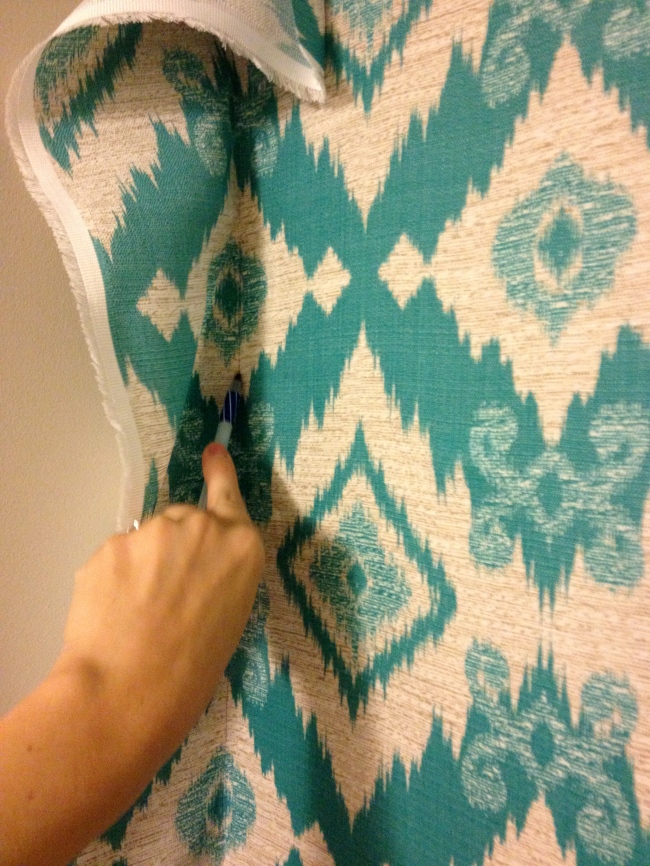 {marking the fabric for cutting}
For this project I used scissors to cut away the excess before anything was dry but you can also allow the fabric to dry to the wall and then use a sharp exacto knife to cut away the fabric you don’t need.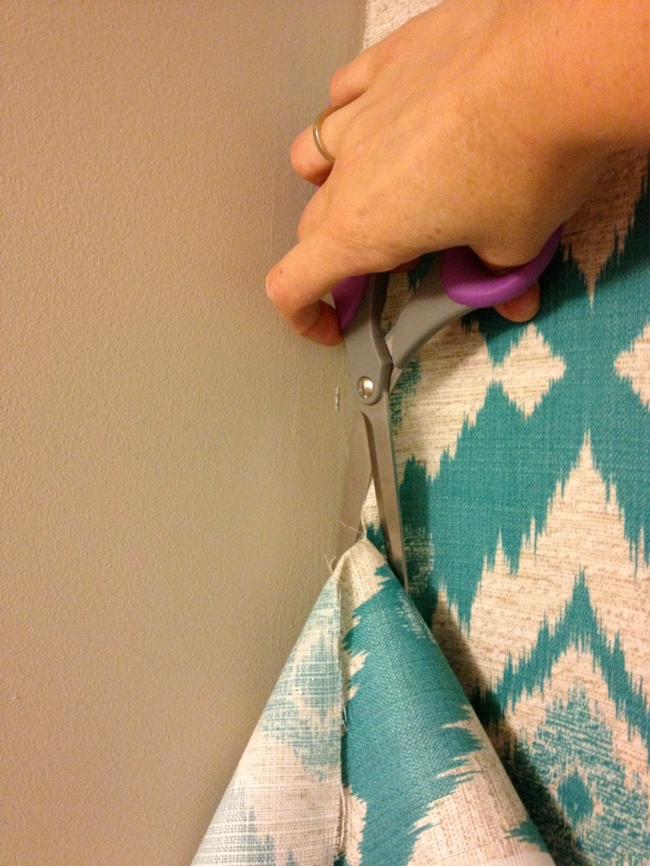 {cutting away the excess}
Once you have cut away all the excess fabric you can give the whole wall another good coat of your liquid starch. Your fabric wall will be wet. Don’t keep touching it, just walk away. Leave your fabric to dry thoroughly before you hang anything but once it is dry you can go ahead and do whatever you like!
I am totally in love. Sure it is bold and bright but this long hallway now makes me smile whenever I pass or walk down it. Remember I want a GIANT mirror to hang here eventually which means the pattern will only show around the boarder which will assist in taming this bold statement in our home.
My fabric choice may not be for everyone but this EASY DIY can be done with any pattern, print or solid you can find! Do you have a a boring wall that you want to update? Renters and homeowners rejoice, this temporary {or long term} decor solution is just what you need to add some personality and pizzaz to your home.


This is amazing!! I really want to try it. A very well done tutorial!
i have never seen this done before! What a great idea. It looks great….just like wallpaper.
I love it! It looks amazing! Thanks for sharing!
If you were doing this on a large wall, how would you handle the seams – I am doing this but I am using sheets.
I looooooooove this! I’m a renter so the fact that it’s removable is great!
Brilliant but how do you remove it without damaging the wall?
It peels right off and all you need to do is give the walls a wipe to clean them, no damage whatsoever!
Very cool!
I have done this project, except I did it on an entire room. My biggest problem is the seams where the fabric comes together. It is VERY hard to cut a straight edge from the ceiling to the floor without the fabric buckling. I am looking for suggestions on what some may have done to make this easier or done differently.
Reblogged this on The Clutter Removing Erythrocyte and commented:
A little bit of investment at the outset, but almost indispensable if you’re going to be renting for a while. Or if you like to change things frequently. You can use a sheet from a thrift store instead of fabric.
Brilliant! Do you think the same process would work for paper?
I haven’t tried with paper, the liquid starch acts as glue so I wonder. Mind you with a little water it may lift away nicely. Just a little extra clean up I would think!